

Quick Summary
To grade between sizes on an indie pattern, choose a starting size at the bust, then blend smoothly between the neighbouring size lines at each body point: bust, waist and hip. Indie designers draw their own size charts, so the blend is often needed to match your body. Trace the sizes you need, check the side seams match, and test the fit in a muslin before cutting your final fabric.
- Indie pattern sizes differ between designers, so grading is often needed.
- Measure your bust, waist and hip, then compare each to the size chart.
- Blend bust to waist, then waist to hip, using short, even strokes with a French curve.
- Keep the original pattern intact by tracing onto tracing paper or a copy.
Table of Contents
- Why Indie Patterns Often Need Grading
- How to Choose a Sewing Pattern Size Before You Grade
- Measure Your Body and Compare It to the Size Chart
- Grading Between Bust, Waist and Hip Sizes
- How to Blend Sewing Pattern Sizes Step by Step
- Worked Example: Grading a Bodice Front Piece
- Test Your Grade With a Muslin and Adjust Your Next Blend
- Frequently Asked Questions
Why Indie Patterns Often Need Grading
Indie sewing patterns are designed by small independent companies, and they rarely follow the same sizing as big pattern brands, so you will often need to grade between sizes to get a good fit. Each designer draws their own size chart, so sizes can differ between designers.
Grading is the fix. It means blending two neighbouring sizes on a pattern piece so the final shape fits your body more closely. Many sewists use grading to fit their bust, waist and hip at different sizes. This gives a better fit than cutting one size everywhere.
Grading is most useful when your measurements fall between two sizes, because grading between sizes lets you match each body point rather than settling for one size everywhere. It is also helpful when your upper body and lower body sit in different size ranges. Knowing why a pattern needs grading helps you decide whether it is worth the extra time.
How to Choose a Sewing Pattern Size Before You Grade
Start by choosing the size that matches your bust measurement. This is the most common starting point for bodice patterns. Then check your waist and hip measurements against the same chart.
Pick the size closest to your bust. Your waist and hip can be adjusted later. Starting with the bust keeps the top of the garment fitting well.
A few quick tips help you choose:
- Measure yourself and compare against the designer's finished garment measurements, not your body measurements alone
- Look at the designer's ease allowance, which is the extra room built into the pattern
- Read the size chart notes, since some indie brands list their sizes differently
Pick your starting size, then check the fit at each key point before you cut.
Measure Your Body and Compare It to the Size Chart
Take your measurements with a soft tape measure. Keep the tape snug but not tight. Measure your bust at the fullest point, your waist at the natural narrowest point, and your hip at the widest point.
Write each number down. Then compare each one to the pattern's size chart. Note which measurements land in different sizes. These are the measurements you will need to grade.
For example, your bust may match a size 10, while your waist matches a size 8. Your hip may match a size 12. In that case, you would grade from 10 at the bust, to 8 at the waist, and out to 12 at the hip.
Grading Between Bust, Waist and Hip Sizes
Grading works best when you blend between sizes at each body point. The bust, waist and hip often sit in different sizes, so each area needs its own blend.
Here is how the three areas usually work:
- Bust: Use your bust size as the anchor for the top of the bodice
- Waist: Blend down to your waist size, usually at the side seam
- Hip: Blend out to your hip size below the waist
Keep your grading lines smooth. Sharp changes in direction can make the garment pull or gape. Take your time at each point, and check your work against the pattern's notches and seam lines.
Grading between bust, waist and hip sizes takes practice. Many sewists find it easier after their first project.
How to Blend Sewing Pattern Sizes Step by Step
Blending means drawing a new line that connects two sizes on the same pattern piece. The mechanics are simple, but indie patterns add a wrinkle: most are sold as PDF downloads with nested, layered size lines, and some are printed on demand. How you handle the file determines whether you can grade cleanly and keep the original intact.
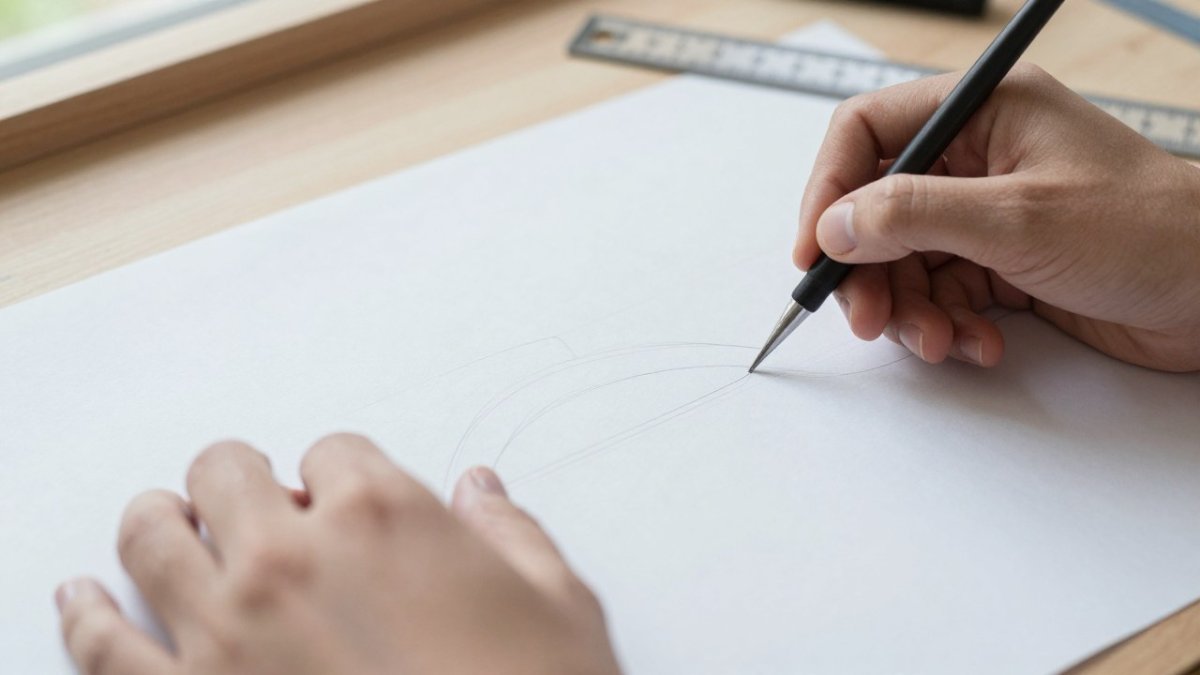
You will need a clear gridded ruler, a French curve, a pencil, and either tracing paper or a printed copy of the pattern. A fine-tip marker in a contrasting color helps you see your new line against the printed size lines.
Follow these steps:
- Preserve the original. For a PDF, open the layered file and turn off every size layer except the ones you need, then print or trace only those. For a printed pattern, trace the pieces onto tracing paper rather than cutting the tissue. Never cut the original size lines, you will want them for reference and for future projects.
- Check the tile alignment first. PDF patterns print on tiled pages with alignment marks. Tape the pages together and confirm the test square measures exactly as stated before you trace anything. A misaligned tile throws off every measurement downstream.
- Identify your size lines at each body point. Mark where your bust, waist, and hip sizes cross the side seam and any vertical seam lines. Use the pattern's notches and seam lines as fixed guides, they should not move when you blend.
- Decide whether you are blending adjacent or non-adjacent sizes. Adjacent sizes (8 to 10) share a line you can follow. Non-adjacent sizes (8 to 12) require you to interpolate: measure the horizontal distance between the size lines at that point and divide it evenly to place your new line. Grading across more than two sizes at one point is often better handled as a pattern adjustment rather than a blend.
- Draw the blend in short, even strokes. Start at the upper body point and work downward. Keep the new line between the two size lines at every point, and do not let it cross a notch or seam line.
- Repeat for each body point. Bust to waist, then waist to hip. Each transition gets its own gentle curve.
- Walk the seams. Before you cut, measure the new side seam against the corresponding back piece or facing. If the lengths differ by more than a few millimeters, adjust the curve until they match.
- Cut the traced copy, not the original. Label the new piece with the date, the sizes blended, and your name so you can reproduce it later.
Watch out: Layered PDFs sometimes hide the seam allowance on a separate layer. Turn on the seam allowance layer before you trace, or you will draw a blend line that sits inside the stitching line and throws off the fit.
Drawing Smooth Blend Lines Between Size Lines
Smooth lines make a better fit than sharp corners. Use a French curve to guide your pencil, and draw in short, even strokes rather than one long sweep.
Look at the shape of the line as you draw. It should flow from one size to the next without bumps or kinks. If the line looks lumpy, redraw it with a gentler curve. A common pattern is to place the French curve so it touches the bust point and the waist point at the same time, then trace the arc between them.
For non-adjacent sizes, draw a faint pencil line first, step back, and check that it sits evenly between the two size lines before committing. Blend lines are easier to draw when you move slowly. Rushing often leads to uneven curves that do not sew well.
Worked Example: Grading a Bodice Front Piece
Imagine a bodice front piece with three size lines: size 8, size 10 and size 12. Your bust matches a 10, your waist matches an 8, and your hip matches a 12.
First, mark your bust point on the size 10 line. Then mark your waist point on the size 8 line, and your hip point on the size 12 line.
Next, draw a smooth blend from the bust point down to the waist point. Keep the curve gentle so the side seam does not look bent. Then draw a second blend from the waist point out to the hip point.
Finally, check the new side seam. It should look like one continuous line, with no sudden jumps between sizes. Trace the finished shape onto a clean sheet of paper so you can use it for cutting.
Test Your Grade With a Muslin and Adjust Your Next Blend
A muslin is a test garment made from inexpensive fabric. Sewing one before you cut your final fabric lets you check the fit of your graded pattern.
Sew the muslin using your graded pattern, but leave out any facings, linings, or interfacing that would hide the fit.
Work through this checklist in order:
- Balance: Check that the side seams hang straight and the hem sits level. A side seam that swings forward or back usually means the bust or hip blend needs adjusting.
- Ease: Pinch the fabric at the bust, waist, and hip. You should be able to pinch roughly the amount of ease the pattern specifies, no more, no less. If the fabric pulls flat against your body, you have graded too small.
- Seam alignment: Confirm that notches and seam lines still match after blending. If the side seam is longer than the back side seam, the blend curve is off.
- Movement: Sit, reach forward, and raise your arms. The garment should not gape at the bust or ride up at the hip. If it does, the blend needs more room at that point.
- Drag lines: Look for diagonal wrinkles pulling toward a tight spot. A drag line from the bust to the waist means the waist blend is too narrow; a drag line from the hip to the waist means the hip blend is too tight.
Mark any problem areas with pins or chalk, then take the muslin off and compare it to your pattern piece. Use what you learn to adjust your next blend.
Keep a note of every change you make. Each muslin helps you refine the grade for future projects, and a written record turns a one-off fix into a repeatable method.
Simplifi Fabric carries a curated range of indie sewing patterns and notions. Browse the collection to find patterns that suit your next graded project.
Ready to put your grading skills to work? Shop Simplifi Fabric's curated indie patterns, sustainable fabrics and notions, and start your next project with a better fit.
Frequently Asked Questions
How do you grade between sizes on a sewing pattern?
To grade between sizes, first compare your body measurements to the pattern's size chart. Where your bust, waist or hip falls between two sizes, mark each measurement point on the pattern piece. Then draw a smooth blend line from one size's cutting line to the next, starting and ending at points where the sizes agree. Blending keeps the seams aligned and the shape consistent, so the garment fits your measurements rather than a single size line.
Do I need to grade between sizes on indie sewing patterns?
Not always. Indie patterns are often drafted with different ease and size ranges than mainstream patterns, so your measurements may fall between sizes more often. Check the size chart carefully. If your bust, waist and hip point to different sizes, grading between them usually gives a better fit than choosing one size and altering it heavily later. If your measurements sit within one size line, you may not need to grade at all.
Should I make a muslin before grading between pattern sizes?
Yes, making a muslin or test garment is a good way to check your grade before cutting into your final fabric. Use inexpensive fabric and sew the seams with the blended lines. Check the fit at the bust, waist and hip, and note where the garment pulls or gapes. Then adjust the blend line on the paper pattern and test again before cutting your good fabric.
How do I choose a size when my measurements fall across different pattern sizes?
Start by choosing the size that matches your bust measurement, since bust is often the hardest point to alter later. Then compare your waist and hip to the chart. If they fall into a larger or smaller size, plan to grade out or in at those points. Keep the pattern's ease in mind, because a blended pattern should still give the wearing ease you want for the garment style.
